Walk-In Shower Installation Troubleshooting Guide — Liberty Home Services
Welcome to the Walk-In Shower Installation Troubleshooting Guide by Liberty Home Services, your trusted bathroom remodelers in Pittsburg, PA. Walk-in showers offer accessibility and modern aesthetics, but they can come with their own set of challenges. This guide is designed to help you identify common issues during and after the installation of your walk-in shower, ensuring you can enjoy your new bathroom space without hassle. Whether you're noticing leaks, drainage issues, or tile problems, we will walk you through the potential causes and solutions. At Liberty Home Services, we understand that a walk-in shower is not just a functional upgrade but also an investment in your home’s value and your personal comfort. Our goal is to empower homeowners in Pittsburg with the knowledge they need to tackle basic troubleshooting before calling in the pros. Armed with this guide, you’ll be better equipped to identify problems, understand their severity, and make informed decisions about whether to fix them yourself or seek professional assistance. Let’s dive into the common symptoms and actionable steps you can take to ensure your walk-in shower installation stays in top condition.
Identify the Problem
Match your symptoms to the most likely cause. Severity ratings help you decide how urgently to act.
Step-by-Step Action Plan
Follow these steps before calling a technician — you may be able to resolve the issue yourself.
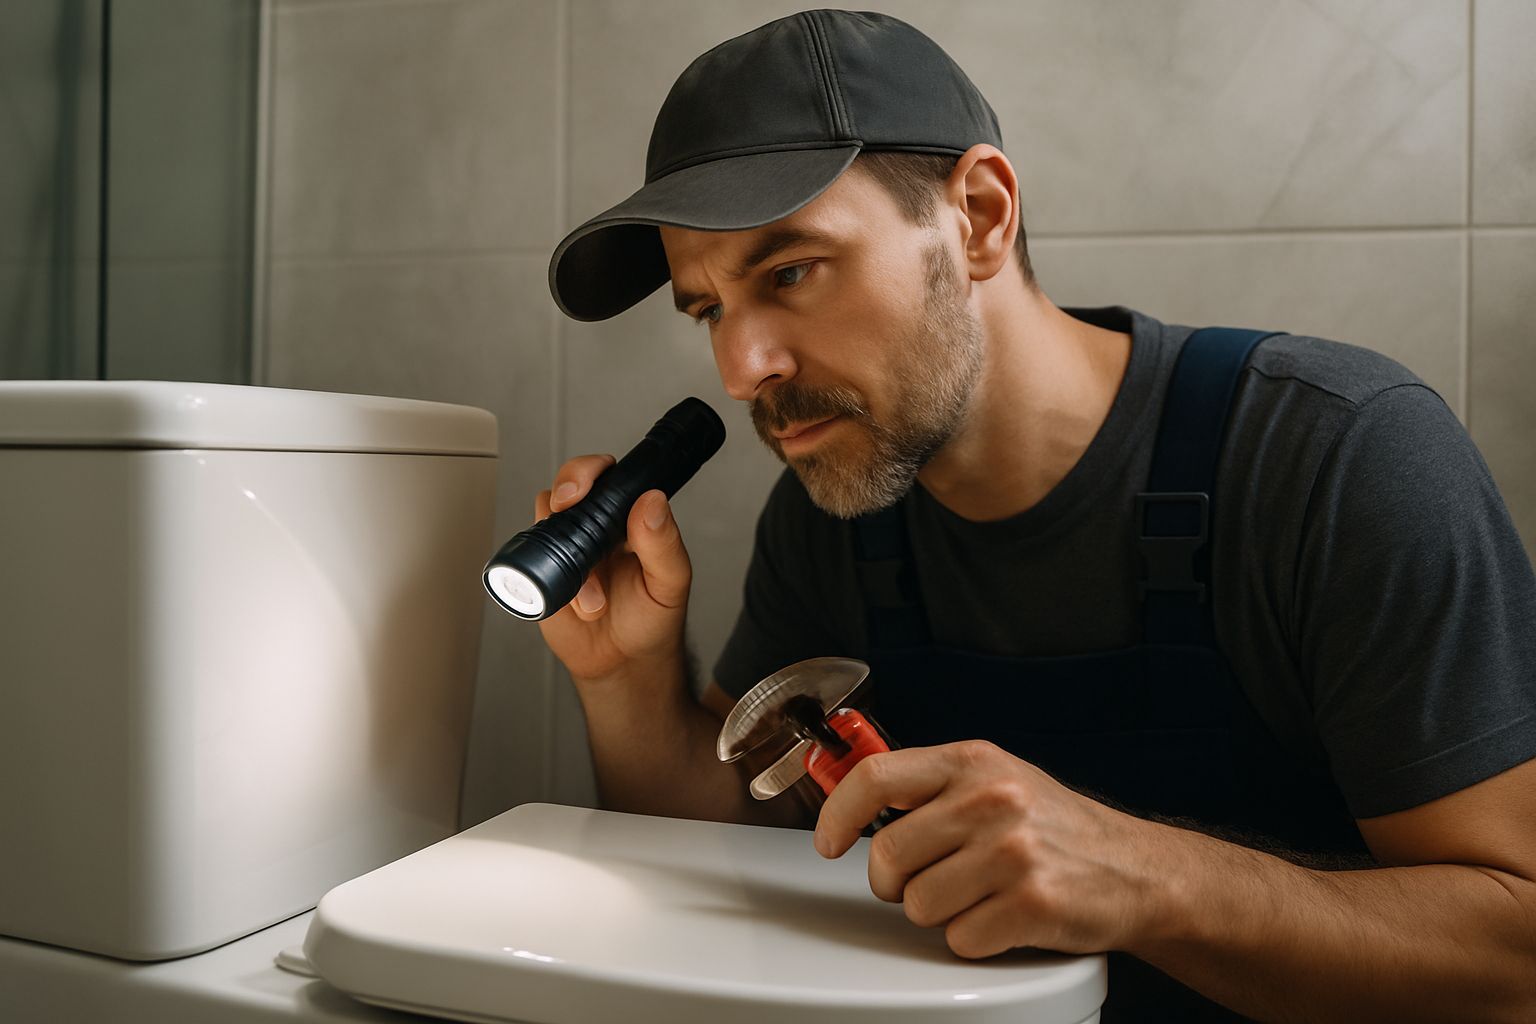
Inspect the Shower Drain
Start by examining the shower drain for clogs or debris. Clear any visible obstructions to ensure proper drainage.
Check for Leaks
Turn on the shower and check for any leaks around the showerhead and fixtures. If leaks are present, try tightening connections.
Examine the Grout and Sealant
Look for any cracks in the grout or sealant. If found, clean the area and reapply grout or sealant as necessary.
Assess Water Temperature
Test the water temperature by running the shower. If there’s no hot water, check your water heater and plumbing connections.
Evaluate Tile Condition
Inspect tiles for cracks or chips. If you find any, consult a professional for repairs to avoid further damage.
Don't DIY These Situations
Some repairs require a licensed technician for safety, code compliance, and warranty protection.
Significant leaks that cannot be contained with basic fixes.
Extensive mold growth that poses health risks.
Structural issues with the shower base that require reinforcement.
Complicated plumbing problems that need expert attention.
Installation of specialized fixtures that require technical expertise.
How can I tell if my walk-in shower is properly installed?
What should I do if my showerhead leaks?
Is it normal for grout to crack?
What causes mold to grow in my walk-in shower?
We Can Fix It For You
Our licensed team serves Pittsburgh, PA and surrounding areas — same-day service available.
Problem Solved — Or Need a Pro?
Our licensed team serves Pittsburgh, PA and surrounding areas. Get a free diagnosis — no obligation.